Increase New Admissions and Enquiries With a Virtual Visit to Your School
Prior to the Covid-19 pandemic, educational institutions relied heavily on in-person visits to attract new admissions for the following school year. With limits on physical visits, school admission teams are increasingly relying on digital marketing and communications and are using ThingLink to create engaging virtual visits instead.
ThingLink has become a favorite tool amongst these teams because it is incredibly versatile, easy to learn, and produces professional in-house results quickly. In a matter of days, admissions teams can take projects from simple concepts to captivating virtual experiences that can be easily embedded into their websites. This greatly cuts down on time, expense, and the need to request development resources or outsource the production to agencies.
And with our seamless Canva integration, creating beautiful maps, infographics, charts and timelines to use in your thinglink is now easier than ever!
In this blog post we will go over several best in class, live projects from fellow ThingLink creators, ranging from K12 schools to higher education institutions of all sizes across the world. The goal is to give you actionable ideas on how to plan, structure and create your school’s virtual tour for increasing new admissions. These ideas will range in complexity from simple to in-depth tours.
Try ThingLink today!
To explore the interactive content you can create with ThingLink, try a free trial today!
Project Idea One – Aerial campus map or floor plan
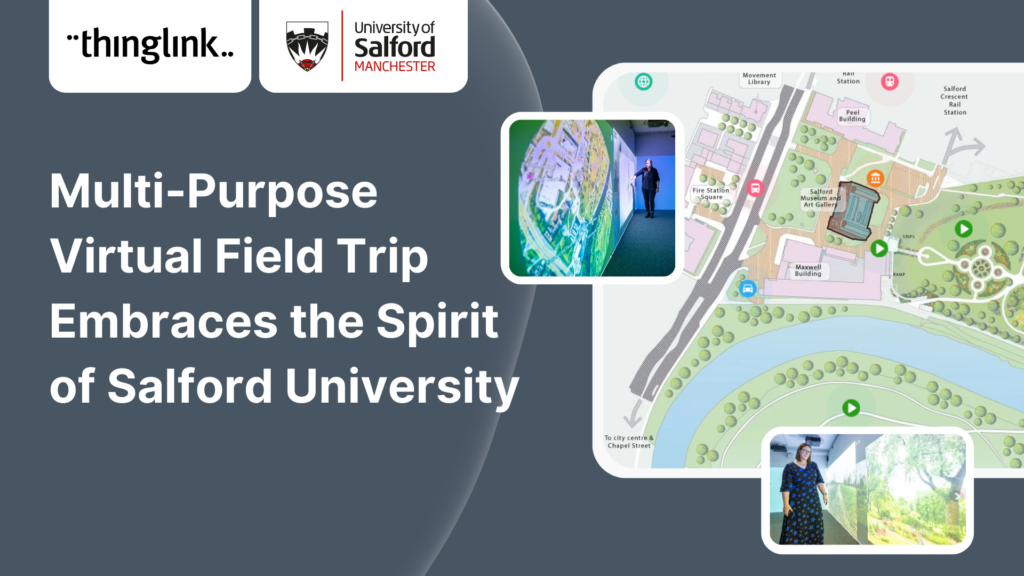
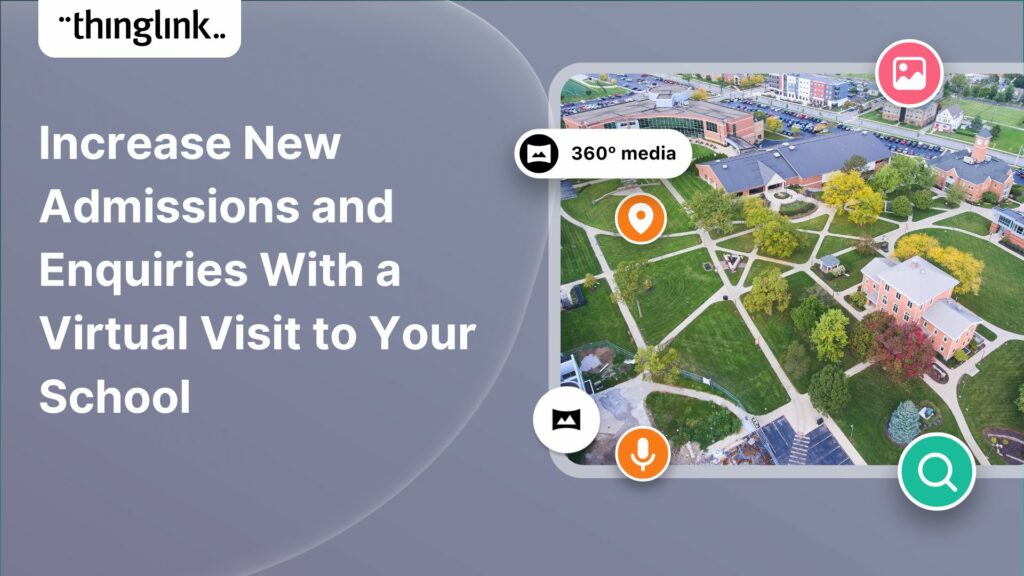
This is one of the simplest and quickest methods to begin your virtual tour project because it only requires designing one base asset, in this case a map or floor plan. You can use the ThingLink tags to include facts, key reasons to attend, and introduce faculty and video content about the campus.
Pro tip: blend in commentary from current faculty and students into the hotspots to add a personal touch. For example, have a current student give an interview on why they fell in love with the new science lab.
Click the icons on the map below to see photos and videos of this spacious green campus and state-of-the-art facilities. Make sure to turn the sound on to hear all about what makes AOSR such a special place!
Project Idea Two – Showcase your diverse study body with a regional map
This is another efficient project to get up and running with little resources and time. Create a map of your surrounding region, or the world if you are an international school. Use ThingLink to annotate labels on where students are attending from so new students feel comfortable knowing fellow students from their area also attend your school.
Pro tip: use custom icons to blend in your school logo into the creative. You can also customize the color styling of the tags and incorporate animations to capture the viewers attention.
Loyola High School of Los Angeles (click the link to view live website) – Hover over the hotspots to learn where Loyola students are coming from throughout various Los Angeles communities.
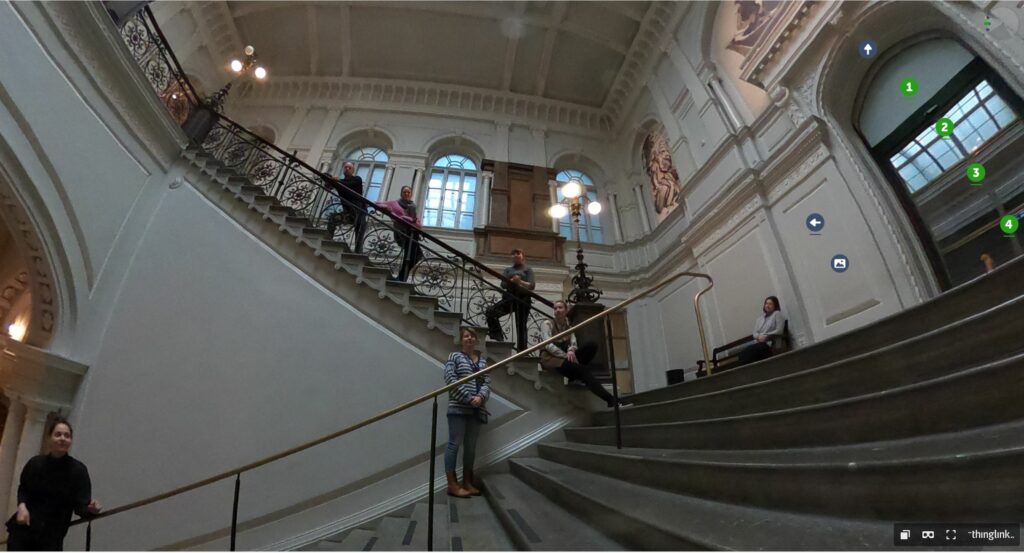
Project Idea Three – Guided virtual campus tours with 360° images & audio
The most impactful method for increasing new admissions through your website is to build a virtual campus tour that dives into each key aspect of the school. While it requires more planning, structuring and resources, these virtual tours are a really impactful way for students to visit your campus digitally.
Pro tips:
1) Use any 360° camera – or the new ThingLink Pano to 360 converter!
In this article we recommend several affordable, low set up cameras that are built to be used by non-professional photographers. These cameras will allow you to quickly capture high-quality 360° images of your campus and seamlessly upload them to ThingLink with no advanced skills required. You can capture all of your images/spaces within a single day.
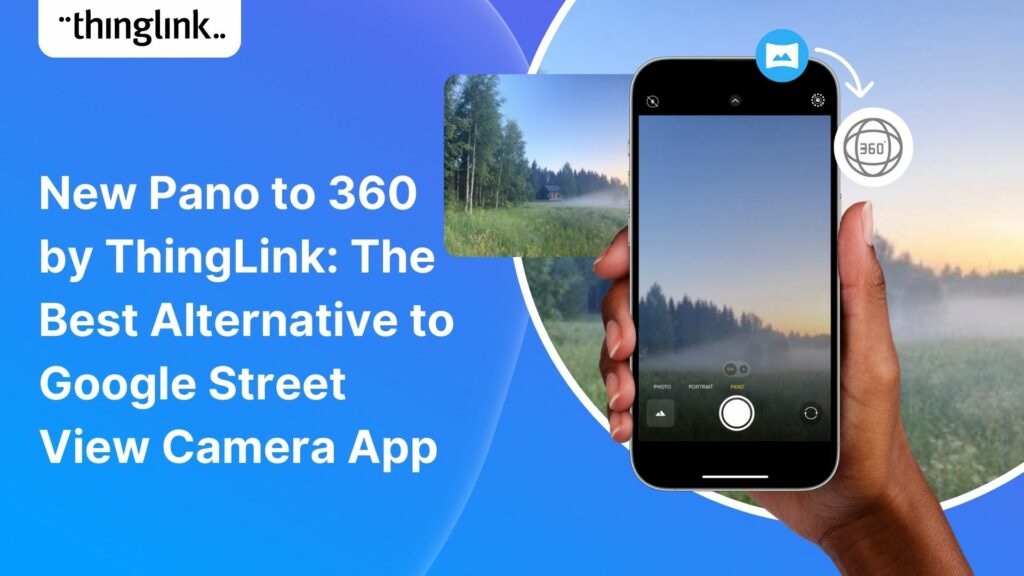
NEW! The easy way to create 360 images: Pano to 360
Creating virtual tours, exhibitions, escape rooms and other immersive content just got even easier! ThingLink has now launched Pano to 360 by ThingLink: an easy way to create a 360 photosphere from a panoramic image using any smartphone. For more information, including step-by-step instructions see this helpful support article.
Try the free Pano to 360 converter
The Pano to 360 photosphere converter is free to use for anyone, no ThingLink account required! Upload a panoramic image to see it in action.
2) Plan and structure
Consider how viewers will navigate through your tour. Make it as simple and clear as possible to ensure an engaging experience for your audience. Many of the best virtual tours begin with a regular image or map (see Project Idea One) and use the hotspots to link to each 360° scene. This acts as a visual table of contents that gives the viewer a frame of reference when navigating the tour, allowing them to return to the map to visit a different section of the campus.
3)Clear instructions – try adding audio!
Include a sentence or two introducing your tour detailing best practices for navigating. Adding audio is a great way to add instructions into the start of the tour, or within an anchored, recurring hotspot. Explore the examples below to see effective and creative methods for incorporating clear instructions for your viewers.
4) Design consistency
Applying a consistent design theme through your graphics allows the viewer to interact with the tour more comfortably. For example, if using videos in your hotspots, always use a video icon, or a camera icon when you want them to view a set of pictures. The best example of design consistency within a tour using ThingLink has been created by the University of Rochester Medical Center. The team creates an experience that makes navigating a complex facility effortless. Read the full case study here.
Meet Christian, your tour guide! Christian appears throughout the tour, offering video recaps, key facts and a consistent voice throughout the viewer journey. The team designed these illustrations into their images.
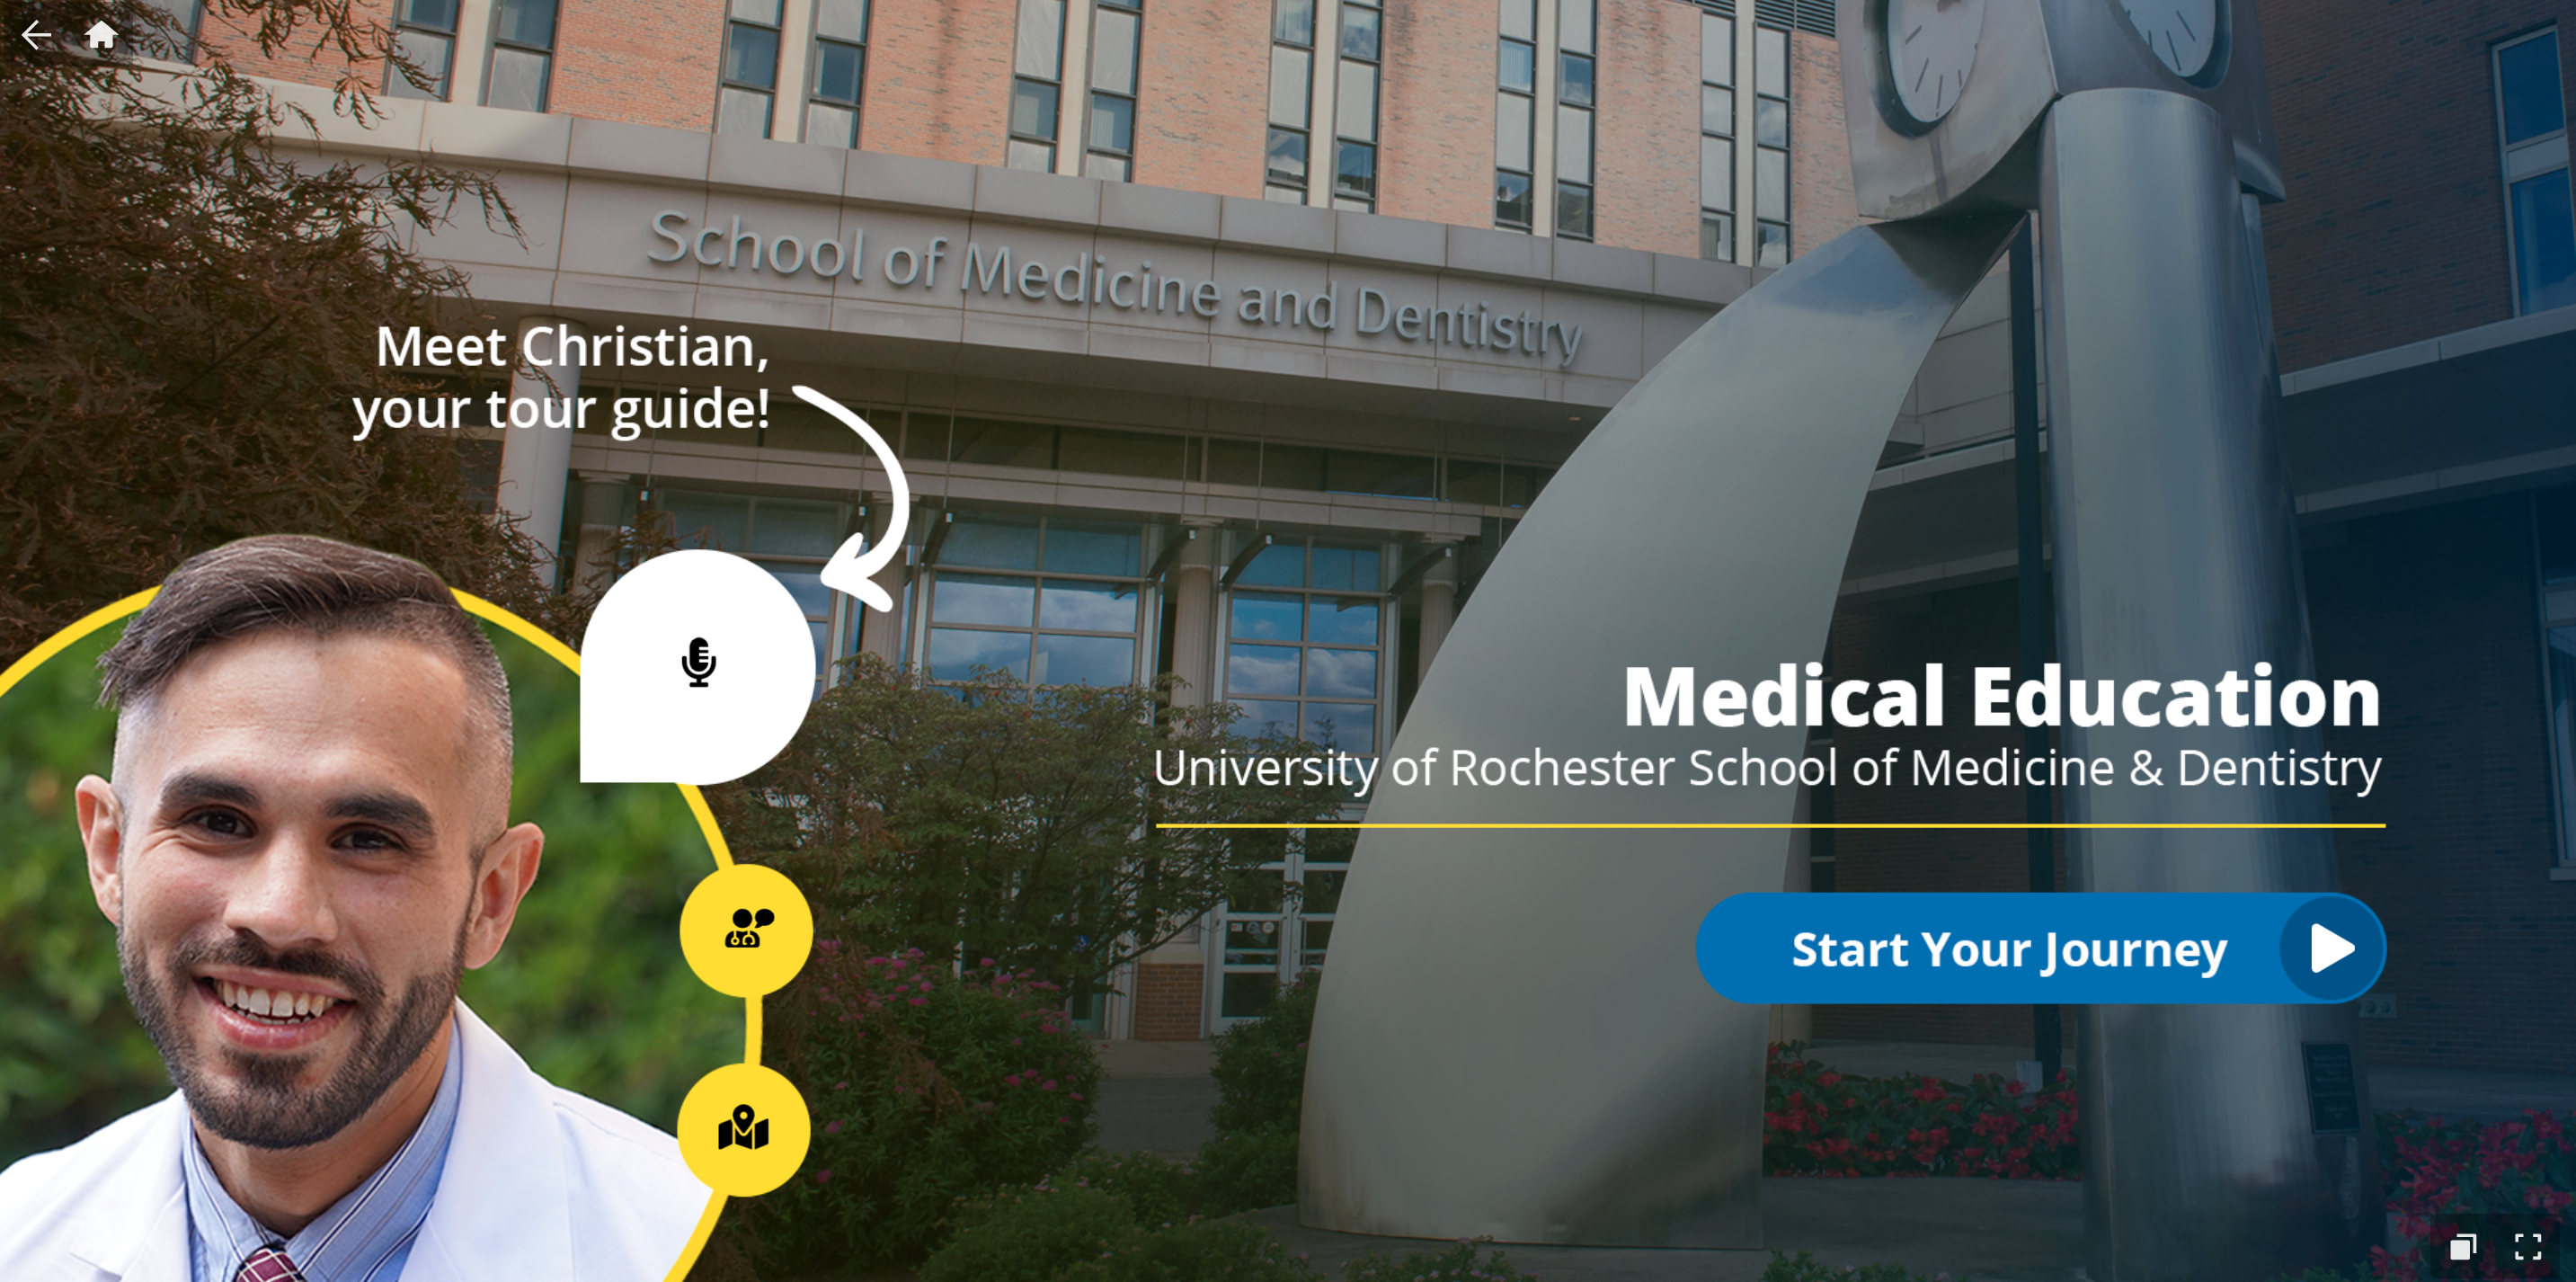
Each key scene features an image with the same six actions:
- Click the microphone button to view pictures, read key facts and listen to Christian narrate
- Click the doctor button below the microphone to watch a video clip with Christian in each space
- Click the book button to retrieve additional text facts about the space you are viewing
- Click the map button to view where you are in the tour in relation to the campus
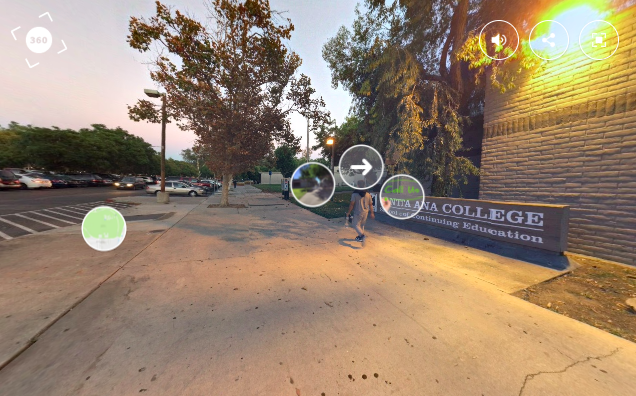
- Click the 360° View button to visit a 360° of the featured space
- Click either of the arrows to visit the previous or next space within the tour
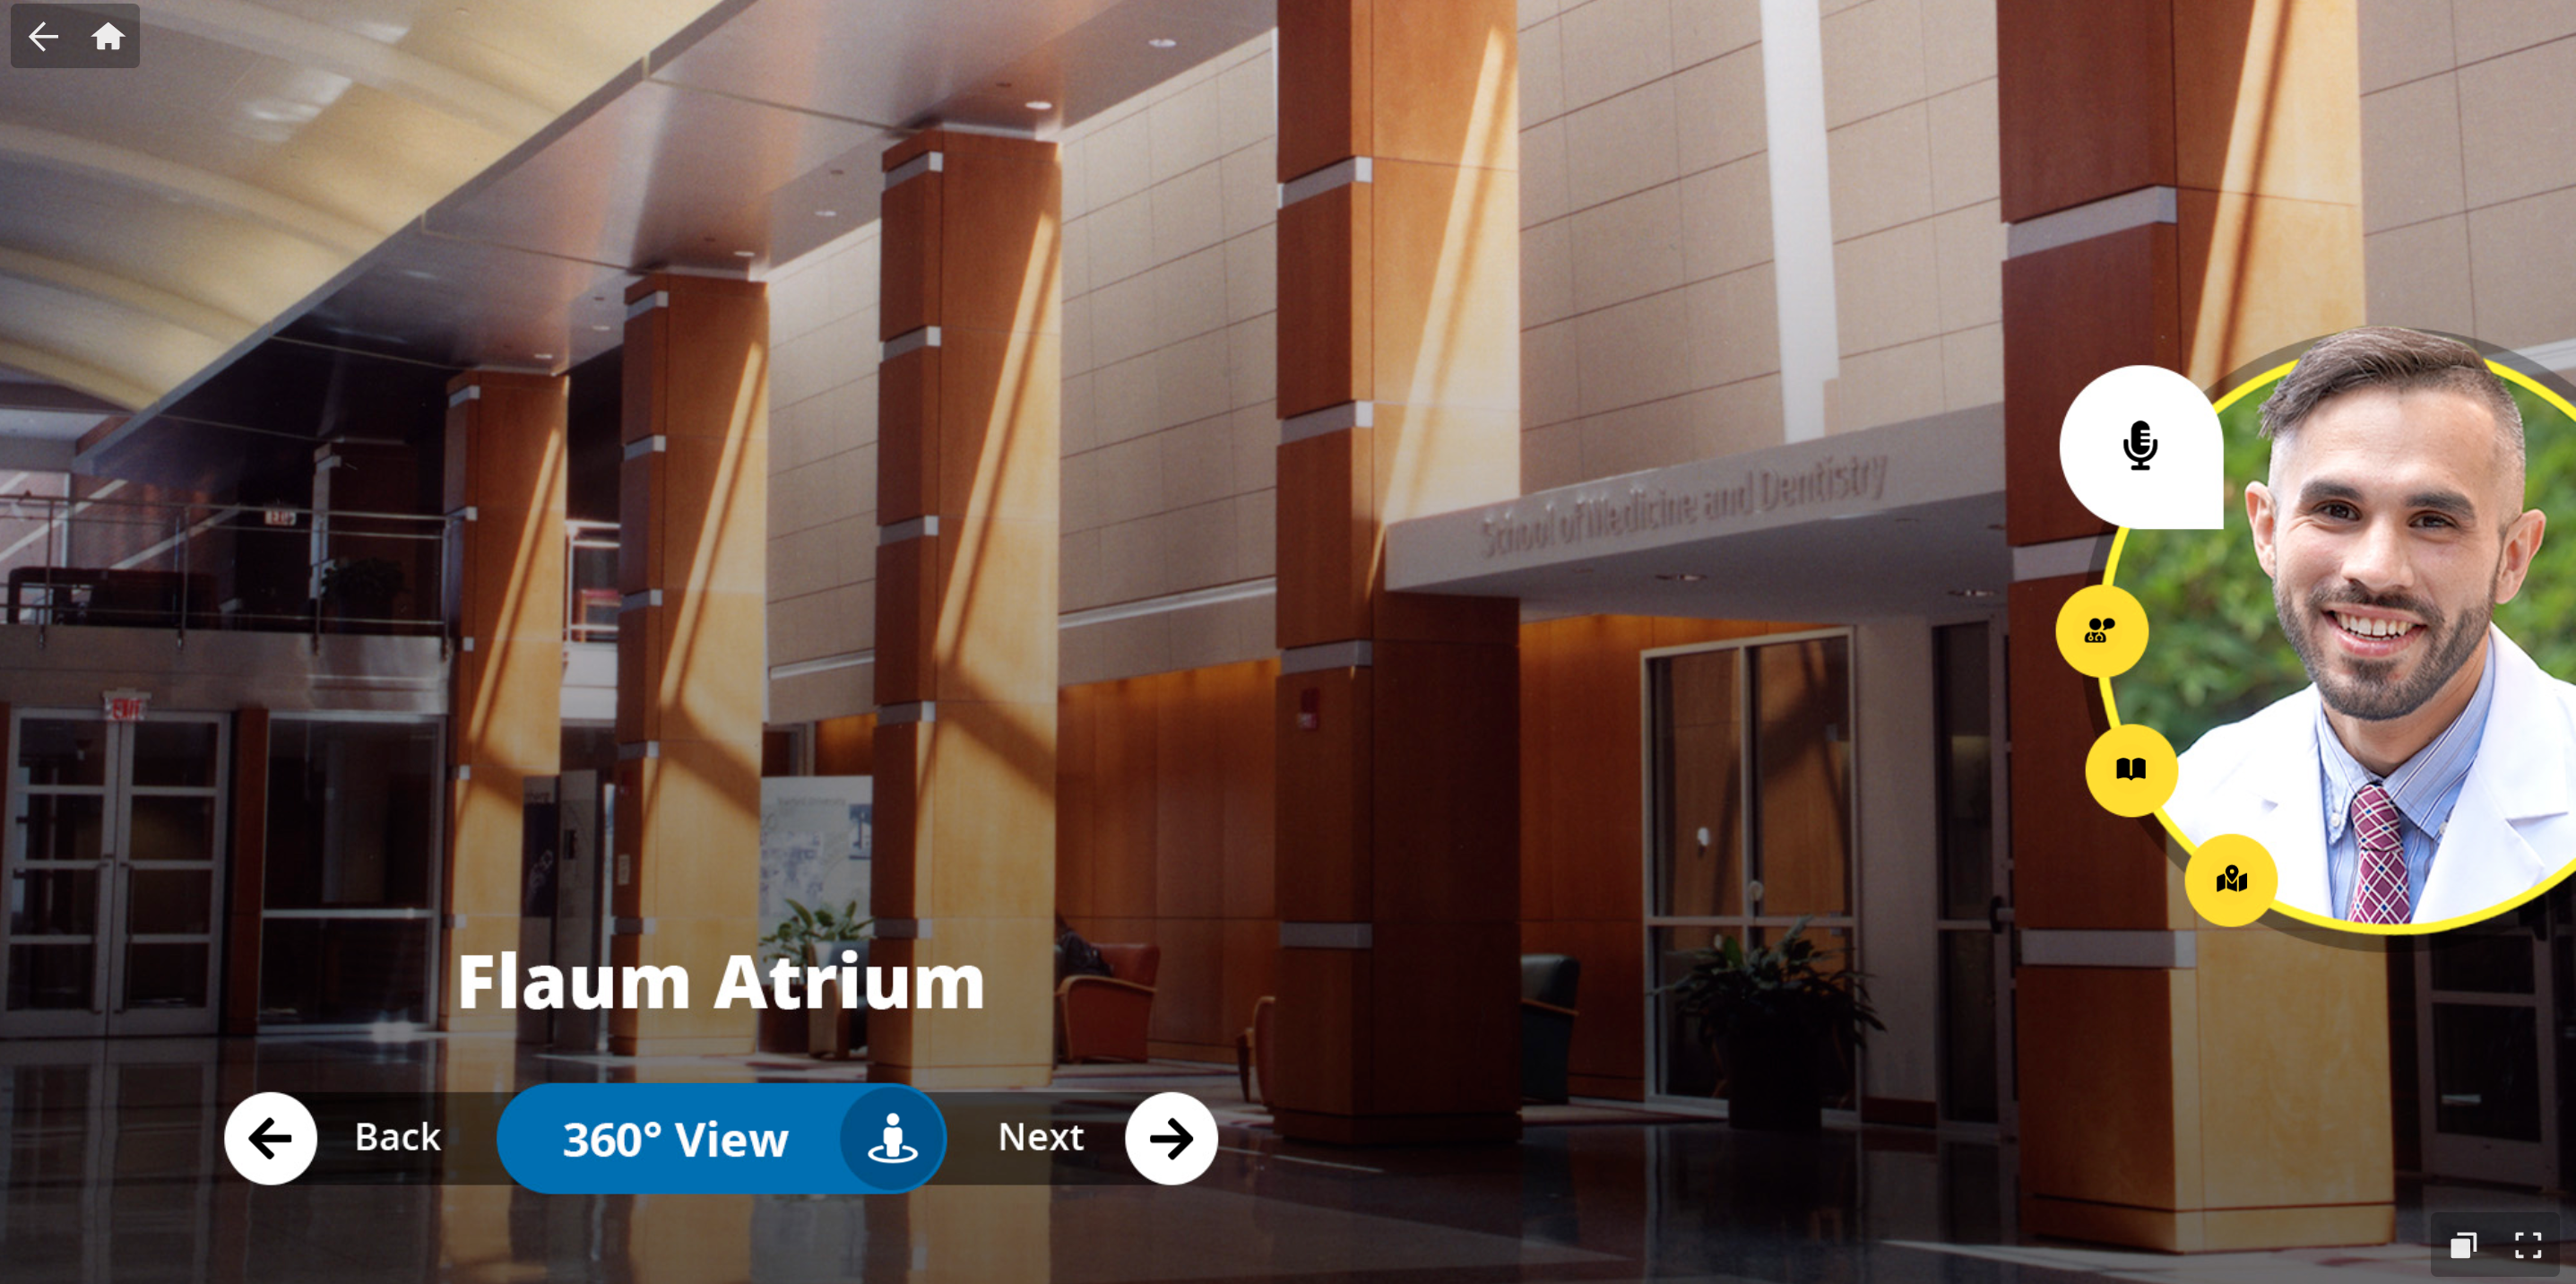
At any point, viewers can go back to the original aerial map view and navigate to a specific building in the campus by clicking the home button on the top left corner. Click the slideshow view on the bottom right corner to see every scene within the tour, and search for specific spaces or topics.
Below you will find 5 additional digital marketing & communications experiences!
Loyola High School of Los Angeles – Why do we love this example?
- Three clear ways to experience the tour, including campus map, list of locations, and thumbnail views
- Use of ambient audio sound throughout the tour further immerses the viewer into the space
- Blending text labels and directional instructions into the 360° image file prior to uploading to ThingLink (view the football field scene)
International School of Budapest – Why do we love this example?
- Clear help prompts on every scene. Clicking the green question mark icon on any scene will take viewers to a special instructional view
- Interactive video! Click to Start Your Journey and it will take you to an exciting interactive video. In some cases video can be a more impactful way to connect with your audience over images, but it can also increase production time over regular images.
- Clean and clear design theme makes navigating the tour very clear.
If you love this ‘virtual tour front door’, here’s a Canva template for you to use and make your own!
Keele University – Why do we love this example? Read the full case study here.
- Immediately after starting this tour, you are greeted with a warm audio welcome with instructions and goals for the tour
- 360° video! All of the cameras we recommended earlier also allow you to capture 360° videos. Once you are in the map view of this tour, click the play buttons to visit a 360° video featuring various key places at the campus. Adding tags to a 360 video is as straightforward as adding to an image.
Keene State College – features campus map view, self-guided tour and guided tour options!
Try ThingLink today!
To explore the interactive content you can create with ThingLink, try a free trial today!
